Written By:
Eric Bakken
Running an effective campaign through Facebook Ads requires you to do more than reach your target audience with an enticing offer; you need to consider the full customer journey! This can be achieved by planning out the desired outcome and messaging of each touchpoint prior to launching the Facebook campaign.
In this blog post, we’ll review each component that makes up a Facebook Ads conversion funnel and discuss the importance of each area.
The biggest mistake we see companies struggle with is investing hundreds to thousands of dollars into a Facebook Ad campaign that has no clear direction and sends prospective customers to the companies home page.
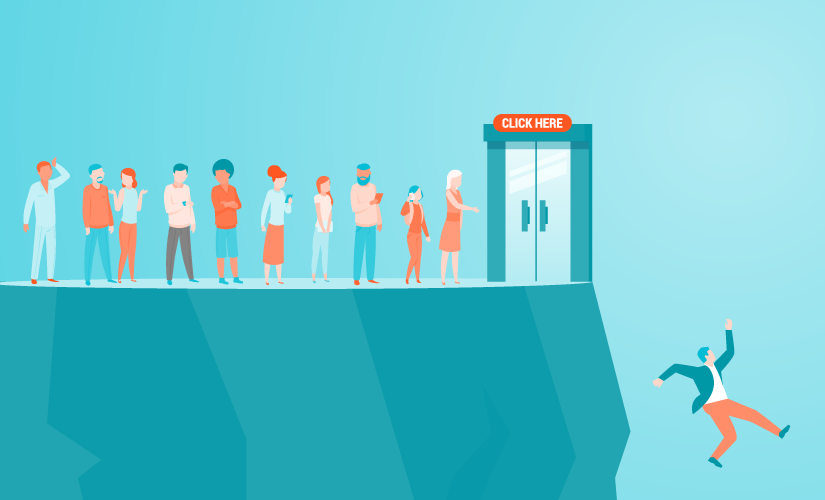
To prevent this and get the most out of your advertising budget you’ll want to create a path that potential customers go through as they take a desired action on your website (ex. purchases or sign-ups). This path will consist of 1) reaching your audience with one offer through Facebook Ads, 2) encouraging them to take action on a dedicated landing page and 3) providing timely, relevant automated follow-up through email. This path is known as a conversion funnel.
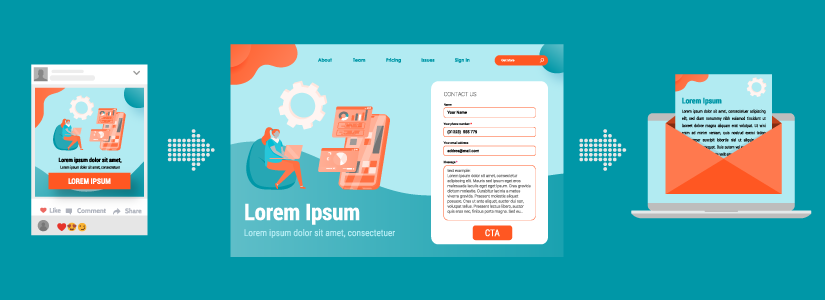
1. Audiences and Ads
In this conversion funnel, the first interaction your business will have with the prospective customer will be ads on Facebook. (If you haven’t created a Facebook Ad account yet, view our simple guide to set one up!)
In the Facebook Ads Manager, you’ll have the opportunity to define who your target audience is for your offer and where you’d like to reach them. Make sure the lifecycle stage aligns with the offer when creating your audience. As an example, let’s pretend we own an all-inclusive hotel and are looking to promote a “book now” offer through Facebook Ads. it would make more sense to target people in the decision stage who have visited our website and looked at our availability in the last 30 days rather than try and target an audience in the awareness stage who are interested in luxury hotels. A better offer for the audience in the awareness stage could be a downloadable brochure that provides information about the resort.
Once you’ve selected your audience, the Facebook Ads will display to them while they scroll through Facebook or Instagram, most commonly on their newsfeed. Since your audience is passively scrolling you’ll want to create ads with concise messaging that draws them in, makes it clear what your offer is, and encourages them to click through to your landing page to learn more. Your message should also be accompanied by a visually appealing creative that is relevant to your offer.
2. Landing Page
The next item in the Facebook Ads conversion funnel is the dedicated landing page. This asset plays a critical role in the conversion funnel because it’s the location where the conversion takes place. A dedicated landing page stands out from other pages on your website by speaking to a subset of your audience, removing distractions, and containing a single conversion point. While many advertisers send traffic to their homepage, a landing page results in a higher conversion rate by making it easy for this audience to focus on the offer they’re interested in by making it simple to convert.
A well-designed landing page aligns and expands upon the offer the Facebook Ads are promoting. In relation to the conversion funnel, your visitors will arrive on the landing page, read the headline(s) and copy, and finally navigate to the form to convert. Your landing page can increase your Facebook ad conversion rate exponentially, so don’t be afraid to A/B test elements of this page as well.
After the initial conversion takes place on the landing page form you’ll want to redirect your contact to a thank you page and provide the offer/confirmation. A thank you page is a great way to keep the person advancing along their journey on your website after the conversion takes place. The goal of your thank you page is to encourage the user to the next stage of the conversion funnel by guiding them to their recommended next steps. Some examples of content to place on the thank you page is a section detailing the next conversion, related blog posts, and contact information. While drafting your thank you page keep your audience and tone in mind. Test out different language using language such as “If you’re ready to take the next step...”.
Download our landing page optimization checklist for information on improving your landing page's conversion rate!
3. Automated Email Follow-up
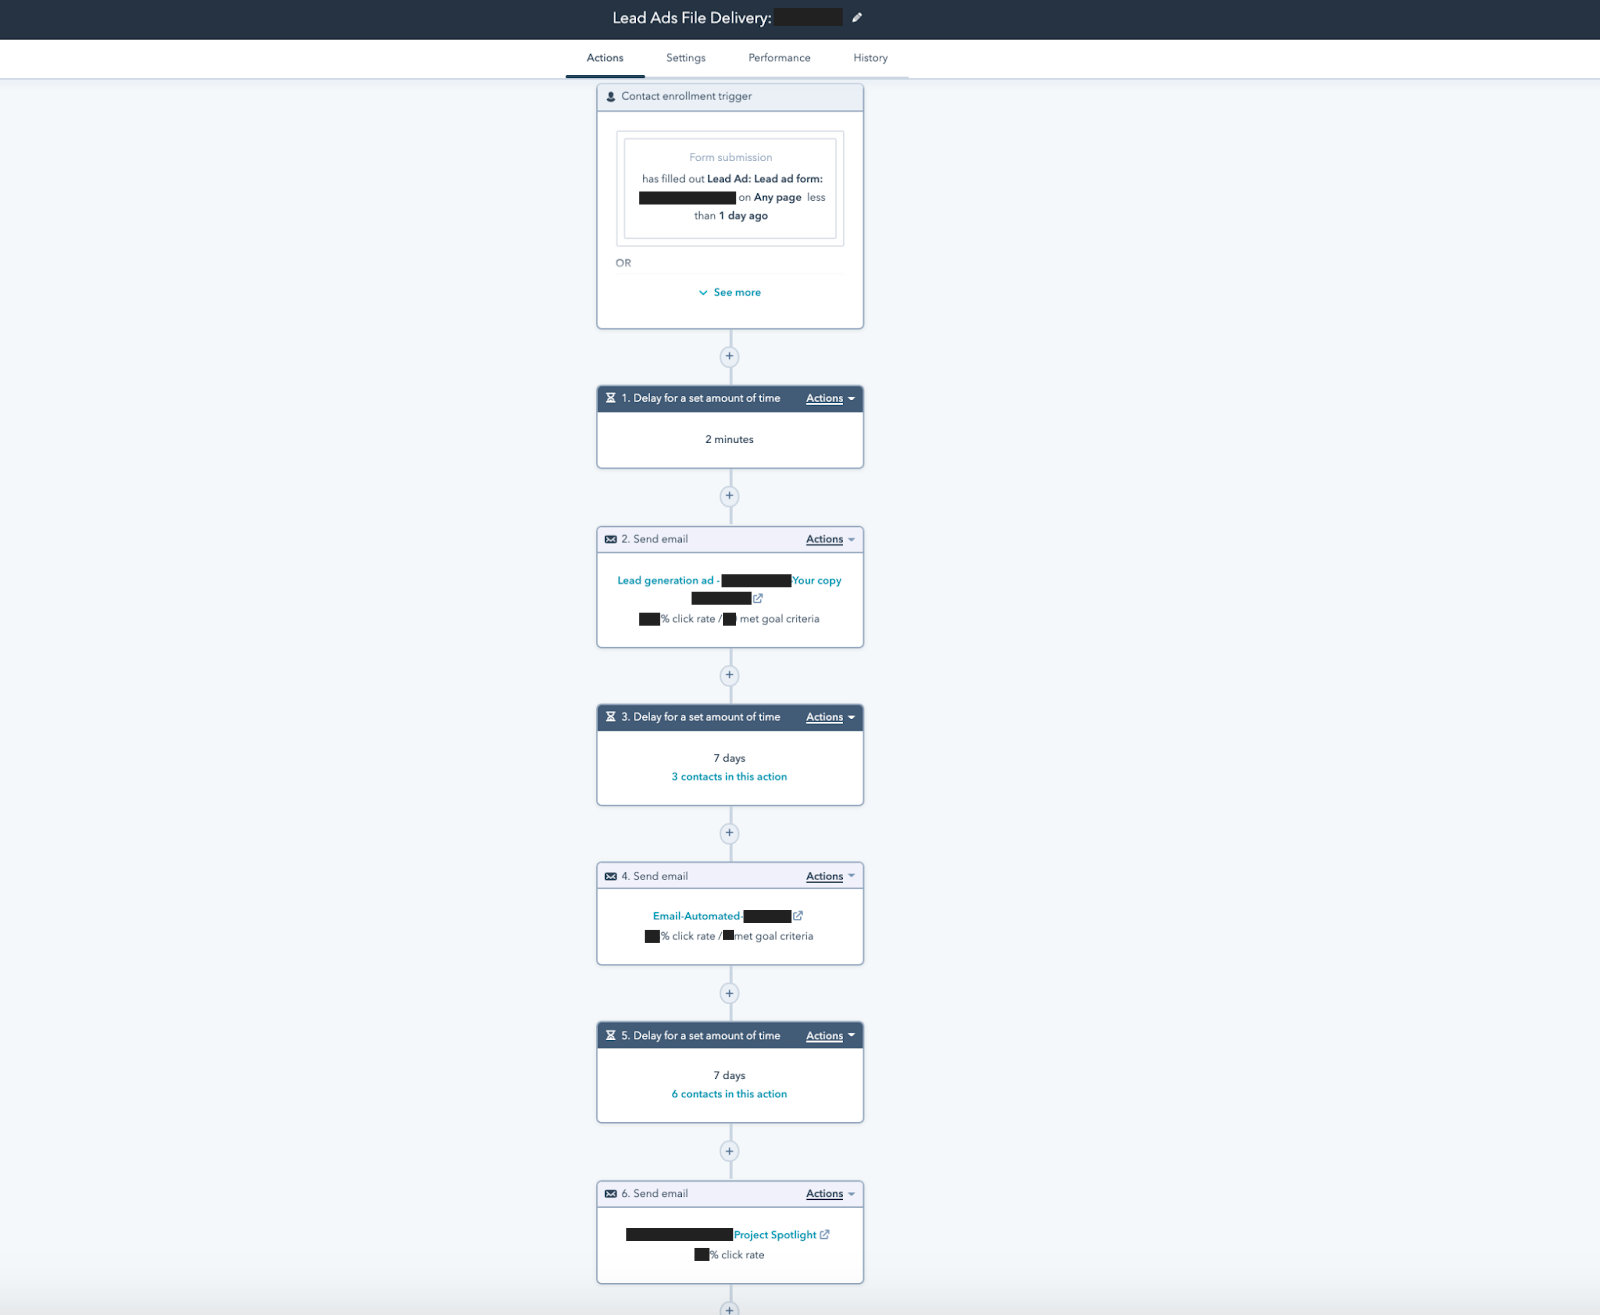
Now that the Facebook Ads, landing page, and thank you page have been drafted you’ll want to focus on your follow-up responses. Your initial auto-response email is a second opportunity to provide your lead/customer with the offer they requested or details about their offer (ex. estimated delivery or confirmation). Within this initial follow-up, you can also encourage them to take the next step in the conversion funnel, promote an additional relevant offer, or provide them with links to related content they may find useful.

Following this initial follow-up, you should plan an automated email drip campaign consisting of 3 to 5 emails. This provides your company with a second opportunity to gradually guide them to the next conversion point in their customer journey or promote additional content that this audience may be interested in!
Streamlining the process with tools like HubSpot
Tools like Hubspot make this process easy by centralizing the ad creation and management process directly within your CRM and marketing platform, enabling you to easily serve highly personalized, targeted ads, saving you time by streamlining your workflow, and providing you with powerful data and insights that help to minimize wasted advertising spend and maximize your ROI.
The Ad Sequences feature guides you through the entire process of creating an effective conversion funnel, but also helps to ensure you are establishing funnels for each stage of the buyer’s journey.
To create your ad sequence, navigate to the HubSpot ad sequencing feature by going to the ‘Ads’ page under the ‘Marketing’ dropdown. Once you’ve selected the ‘Create ad sequence’ button under ‘Ad Sequences’ you’ll be able to draft your first ad.
Step 1) Creating Ads that Attract
The first ad you will create is referred to as an attract ad. It is called this because it is designed to attract your target audience to your brand, business and content. This ad will offer valuable content to your targeted audience without asking them for anything in return.
This Facebook campaign can be drafted and scheduled within the ad sequence tool. Since your Facebook ad account and Facebook page are already linked to your HubSpot account these will be pre-selected. Underneath you’ll have the ability to create your ad by selecting ‘Create a new ad’.
At this point, you’ll have the opportunity to select your landing page. If you’ve built your content within HubSpot, you can easily select the page as shown above. Alternatively, you can manually enter the landing page’s URL by selecting ‘Manually enter URL’.
From here you can draft your Facebook attract ads. The ads consist of an image/video, text/body copy, a headline, and a Call to action. Make sure to use an image/video that is visually appealing and showcases your product or service.
Keep your target audience in mind when drafting your text copy to ensure you’re speaking at an appropriate level. The headline should be short, capture the viewer's attention, and make it clear what the promotion is.
Select a Call to action that best aligns with your offer. At the attract stage this will likely be ‘Learn More’.
Once your attract ad has been crafted it’s time to define your audience. The Ad Sequences tool allows you to create a new audience or select a saved audience that you’ve previously built within your Facebook Ads Manager account. You’ll have the opportunity to select your audience based on location, demographics, interests, and website interactions. Make sure your targeting aligns with the audience you’re trying to reach. Your buyer persona is a great tool to reference when defining your audience targeting!
The final item is defining your budget and run dates. You’ll have the ability to define your daily budget, start time, and end date at this stage. HubSpot even provides the option to run the ads until a specific number of engagements occur- which is an option that’s unavailable within Facebook Ads Manager.
Step 2) Creating Ads that Convert
The second ad in the ad sequence is referred to as a convert ad. This is called a convert ad because it is designed to convert your visitors into contacts by offering access to gated information that aligns with their needs. By default, the HubSpot Ads Sequencer tool will serve these ads to anyone who has engaged with your page or ad in the last 30 days.
Because the goal of the convert ads are to turn visitors into contacts, these ads will most likely be the ‘Lead generation’ campaign type. SImilar to creating the attract ads, next you’ll draft out the convert ads. These ads should showcase your gated offer and make it clear what the offer is. Keep the language and tone in mind since your audience is already familiar with your business.
Select the call to action that most closely aligns with your offer. Some potential CTA’s at this stage include ‘Download’, Get Offer, and Sign Up.
Next, select the on-Facebook form you’d like to use for this offer. If you haven’t created a form yet, you can create this form on the Lead Ads Forms page in Facebook Business Manager.
Choose the location(s) that you want to reach your audience in. This will filter out people who have engaged with your page or ad in the last 30 days who are not within the location targeting set. Because of this, it’s best to keep the location targeting as wide as possible, including all areas that your potential customer is located in.
The last step to take while drafting the convert ads is to set your daily budget and run times.
Step 3) Creating Ads that Close
The final set of ads within the Ads Sequencing tool are called close ads. These ads are designed to reach your contacts who’ve converted in step 2 and get them into the process of making a sale.
For these ads, you’ll want to promote your product/service and direct people to a landing page that is focused on the offer and making the sale.
Because we’re sending these contacts to a landing page, select the ‘website traffic’ option. Either select the landing page in the ‘HubSpot page’ dropdown if built in HubSpot, or manually enter the URL.
Use a captivating image/video that showcases the product/service in action and is attention-grabbing. Add text copy that clearly tells people about your product/service and makes it clear what the product/service is. Speak to the contacts and keep in mind that they’ve recently expressed interest in your business when drafting the ad copy. The product/service should be included in the headline and capture the viewer's attention.
Select a call to action that most closely aligns with the sale, ‘Apply Now’, ‘Book Now’, ‘Get Offer’, ‘Get Quote, and ‘Sign Up’ are potential candidates at this stage.
Select the location you’d like to target. This should match the location targeting you’ve selected for the previous ads. Notice the audience for these close ads is ‘anyone who submits the form on the ad in the ‘Convert’ stage. The HubSpot Ad Sequencer automatically applies this audience to these ads.
The final step is to select the daily budget, start date, and end date for the convert ads. Keep in mind that it may take some time for contacts to go through the conversion funnel and be eligible to see these ads when selecting your run dates.
After drafting the Ad Sequence and the attract, convert, and close ads are ready to launch select the ‘Publish Sequence’ button at the top right of the page!
Analyzing Performance
After your conversion funnel is set up you’ll want to run your campaigns for 4 weeks to guage their effectiveness. Within HubSpot, you can guage individual campaign performance by navigating to the ‘Ads’ page under the ‘Marketing’ tab. While checking in on the conversion funnel assets keep the ads end result in mind and focus on the metrics that matter. For example, a convert ad may have a high click rate but is not receiving any submissions. If this is the case, you may want to A/B test your form. All components of the ads, landing page, and follow-up can be A/B tested and optimized.
Download our free landing page optimization checklist to improve your conversion rate during this stage!
Conclusion
As you can see a Facebook Ads conversion funnel is critical to the success of any Facebook campaign. By designing each asset with your offer in mind you’re able to help guide your target audience through important moments such as clicking your ad, converting on your landing page, and receiving follow-up emails. Best of all, once you have your conversion funnel in place you’re ready to launch your Facebook Ad!
Because a Facebook Ad conversion funnel has so many moving parts it can be difficult to keep track of performance and enrolled contacts. An in-bound marketing management system like HubSpot can help you keep track of each of these assets, your captured contacts, and even your Facebook Ad performance! Speak to a reputable HubSpot consulting service such as Pepperland Marketing to determine if your company is a good fit for the HubSpot CMS system.


